We’ve been working on a large block wall between us and our neighbors to the east for some time. In the last couple of weeks, we had the wall plastered, and it turned out really nice.
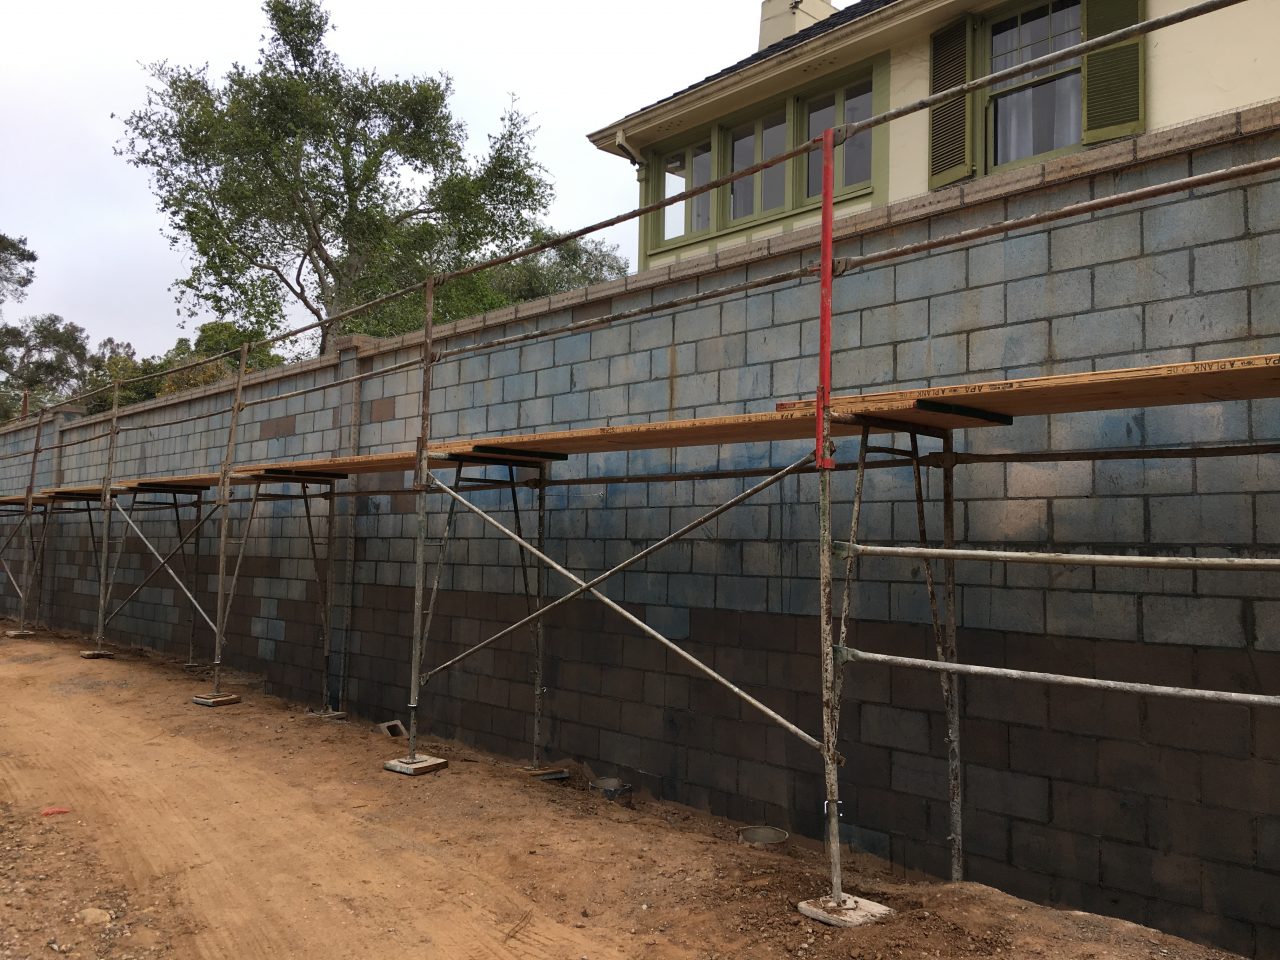
Here is the raw block wall:
To plaster it, they first have to apply some wire frames to the top, caps, and columns.
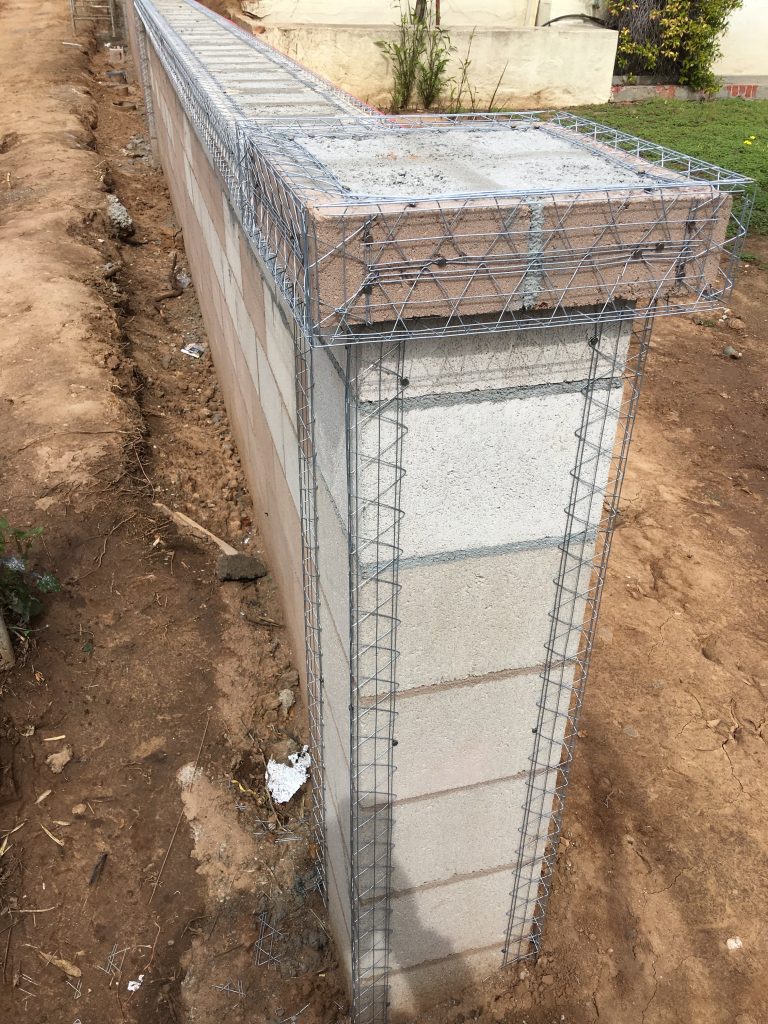
Then they water proofed the wall.
Next comes two scratch coats.
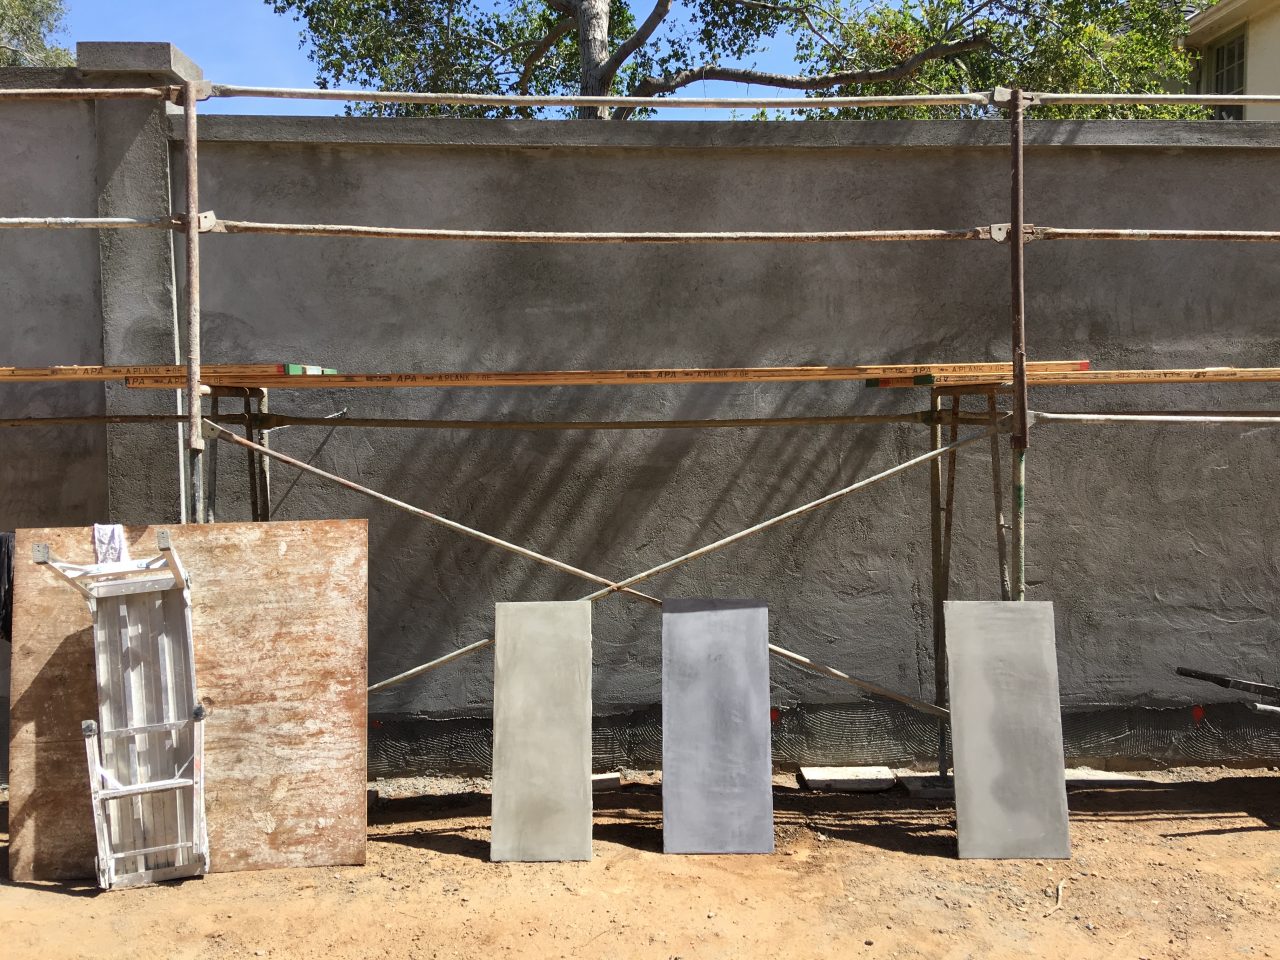
Here is after the second scratch coat, with our finish color samples.
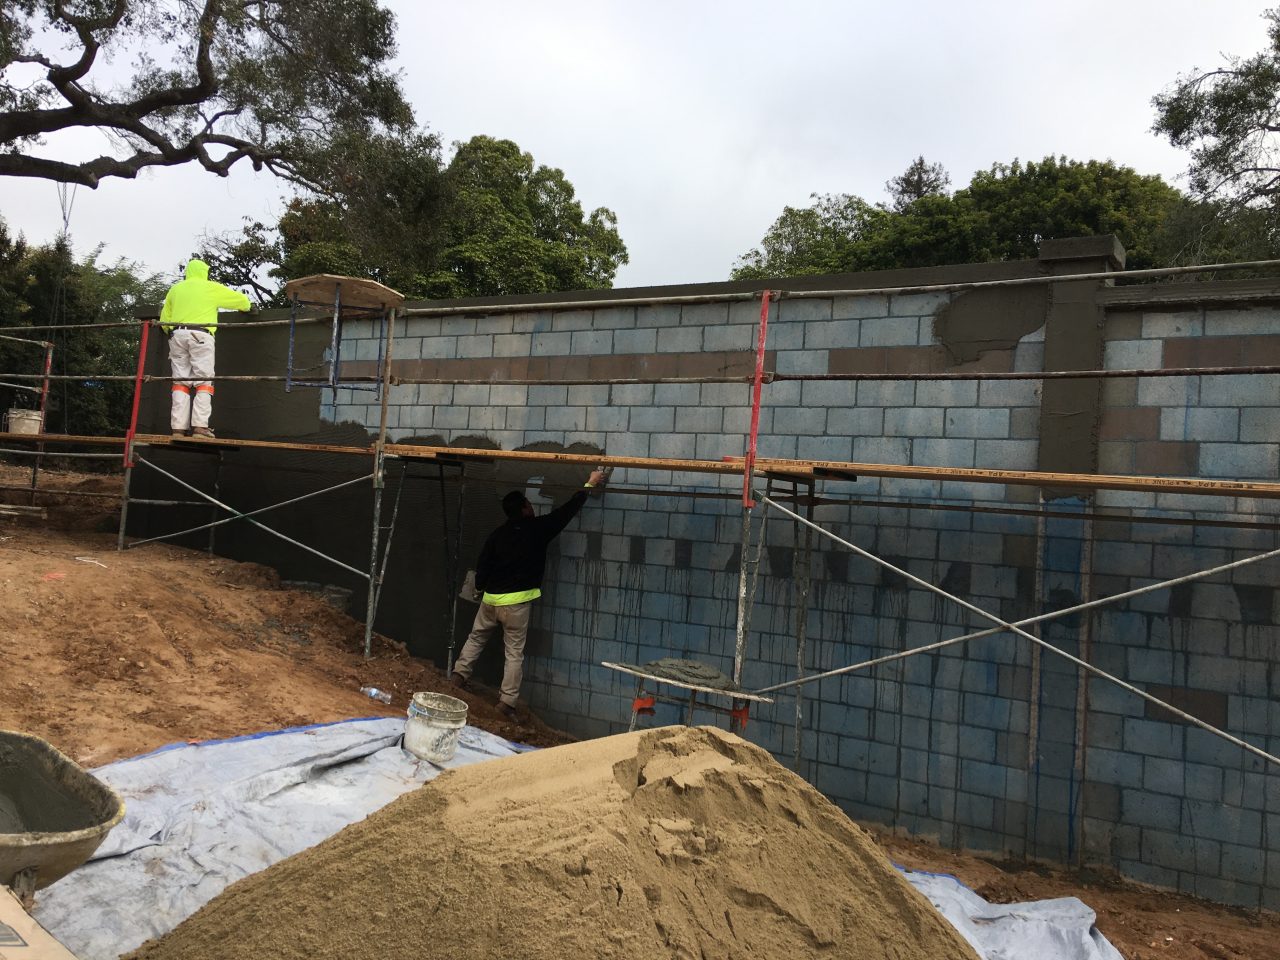
Here is the color coat going on
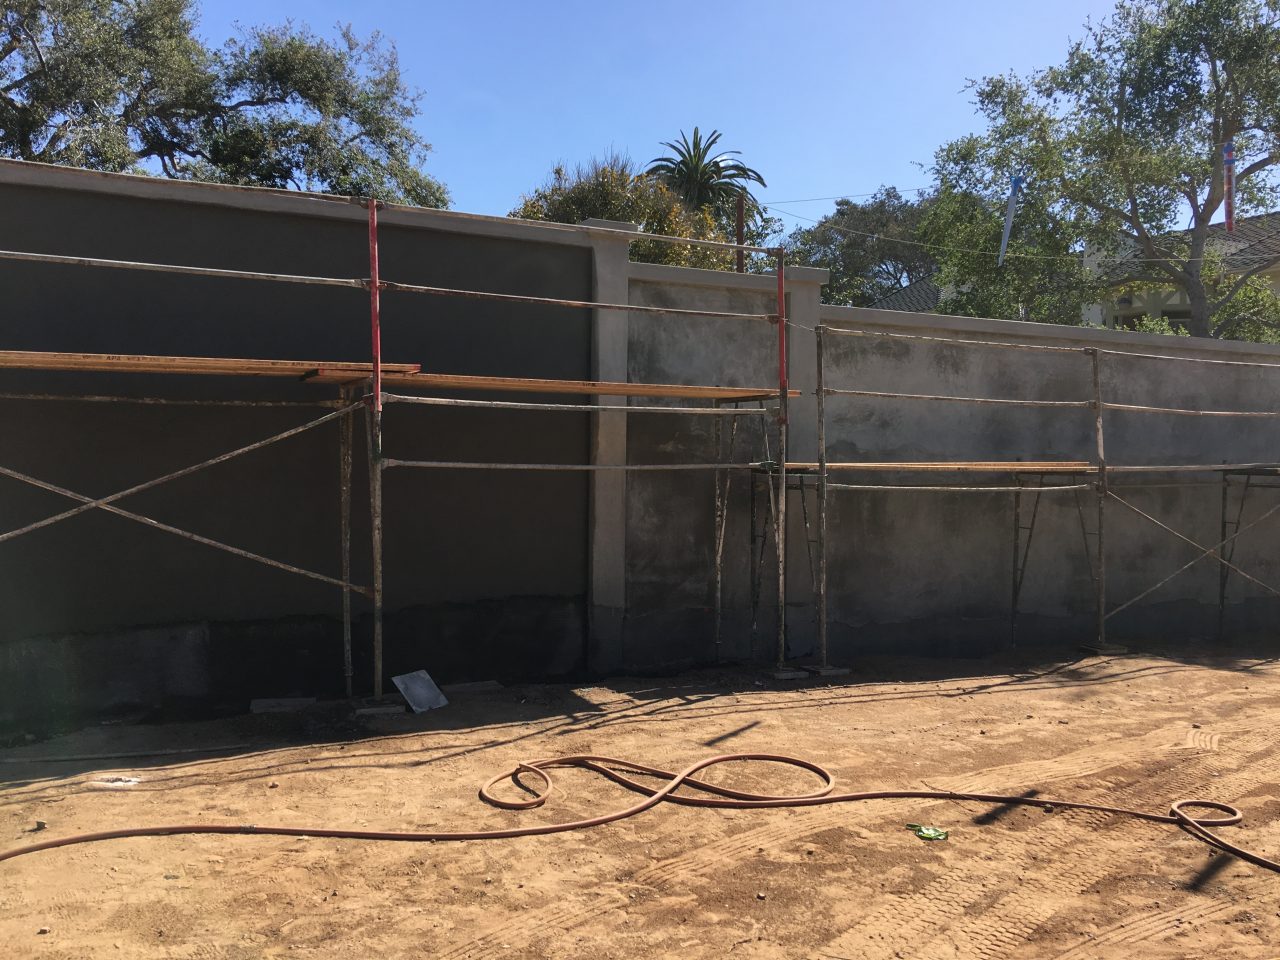
Once the final color coat is on, we could not be happier with the result.
Now that the large wall is done, we have started on the planter wall that will go in front of it, which will help soften the large wall by making it look smaller. It also allows us to meet the code requirements about the maximum 8 foot wall height by bringing up the grade level on our side of the wall to that of the other side, and thus making that large wall shorter than it would otherwise be.
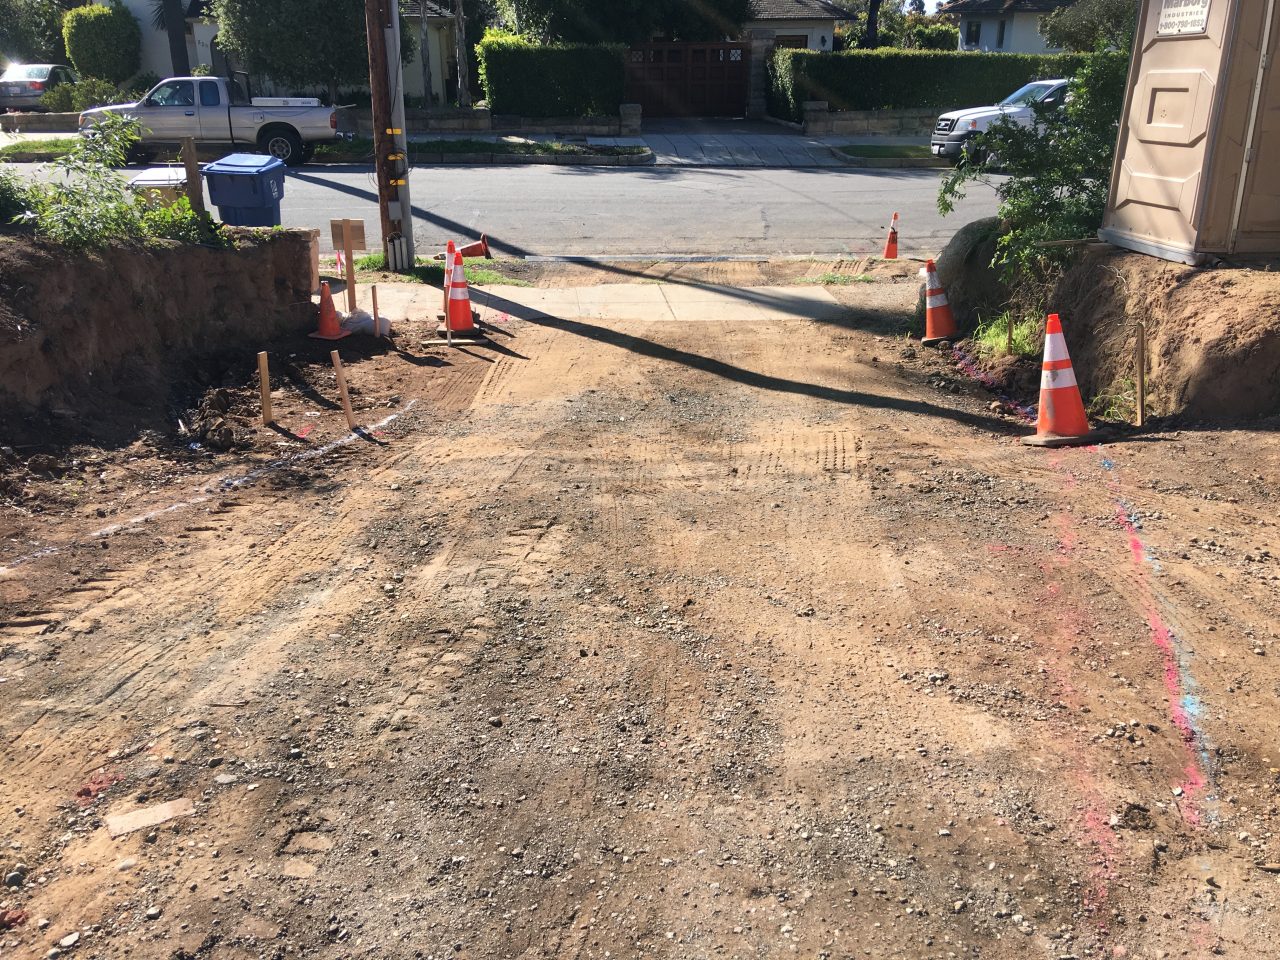
For the planter wall, we had to determine the location of the wall starting at the driveway mouth, where we had to insure enough space to clear the telephone pole.
From there, we had to create the curves up the driveway to the easy part, that goes along the straight wall at a fixed distance.
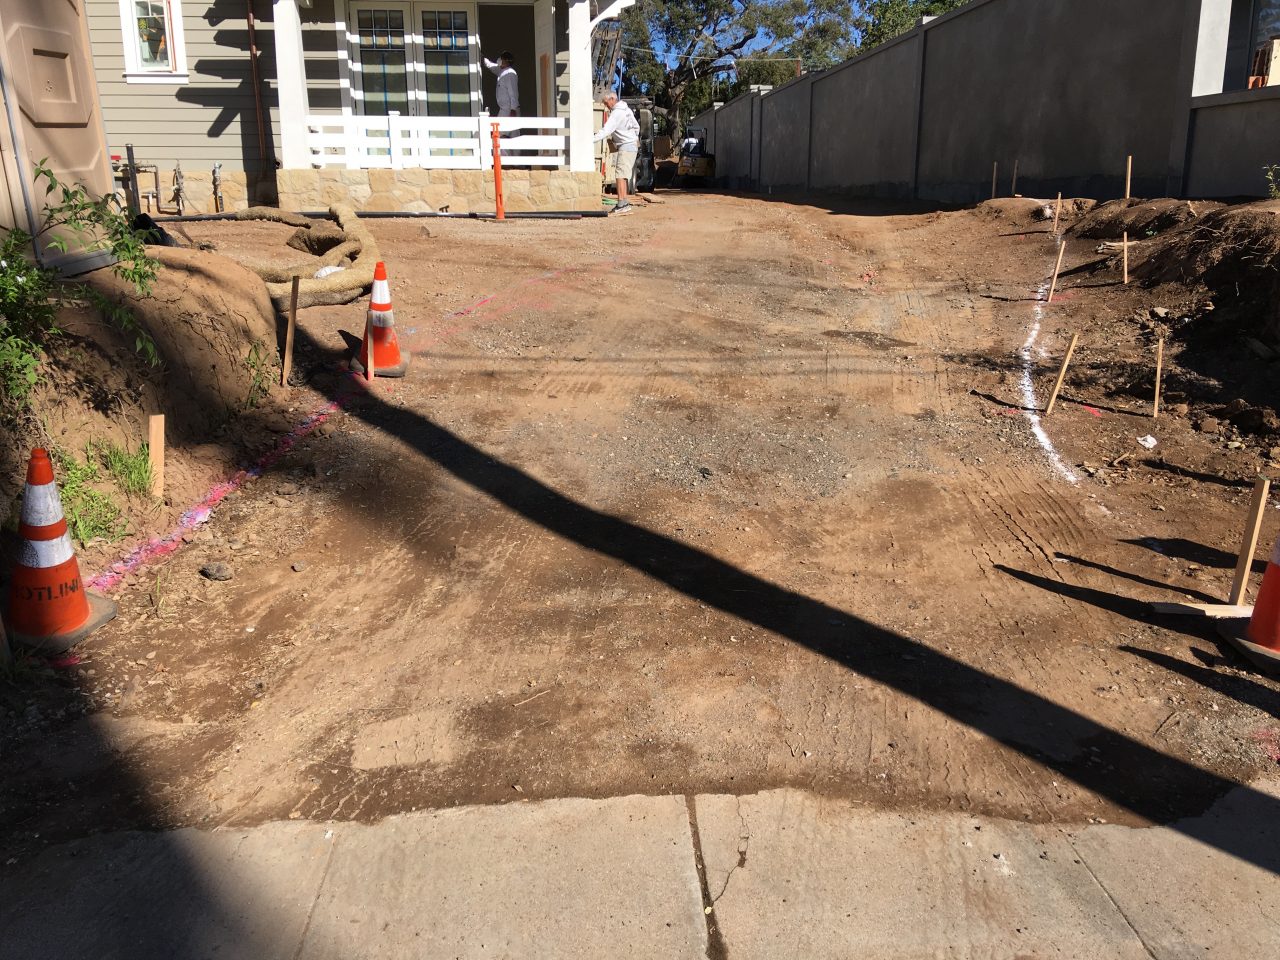
We did this by marking our two known end points, finding the center and splitting the curve sweep in two, and then created the curve with a long piece of PVC pipe, and a measured amount of bend from the straight line center. It worked remarkably well.
Once we had the one side, we just measured the fixed distance to the other side.
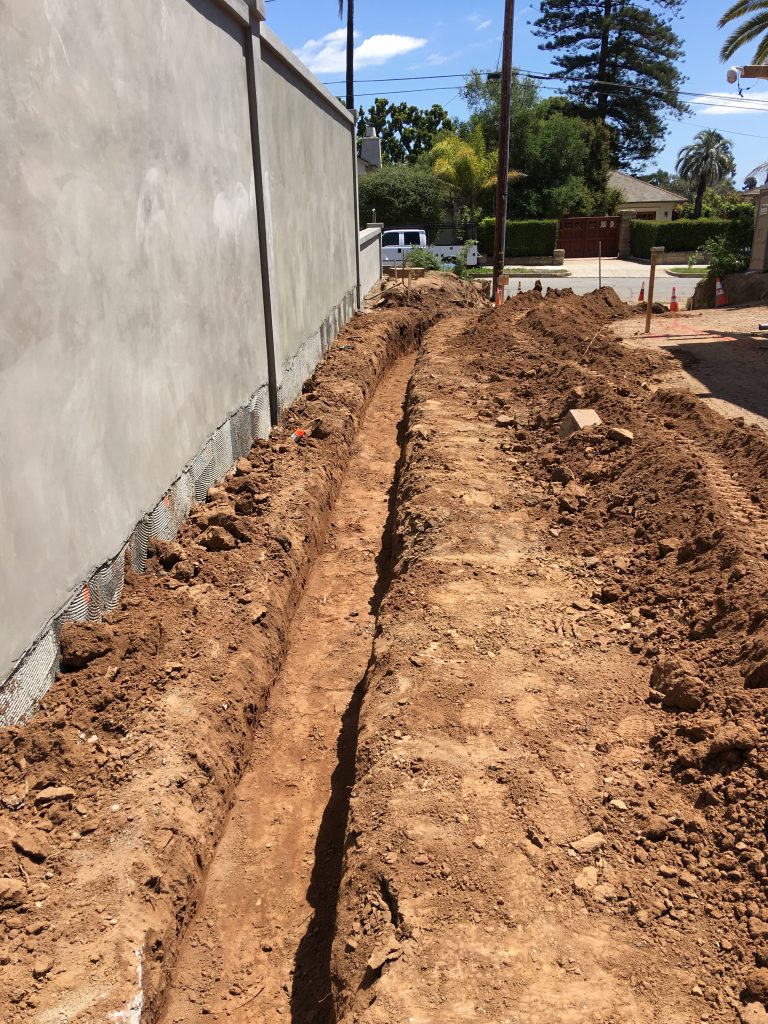
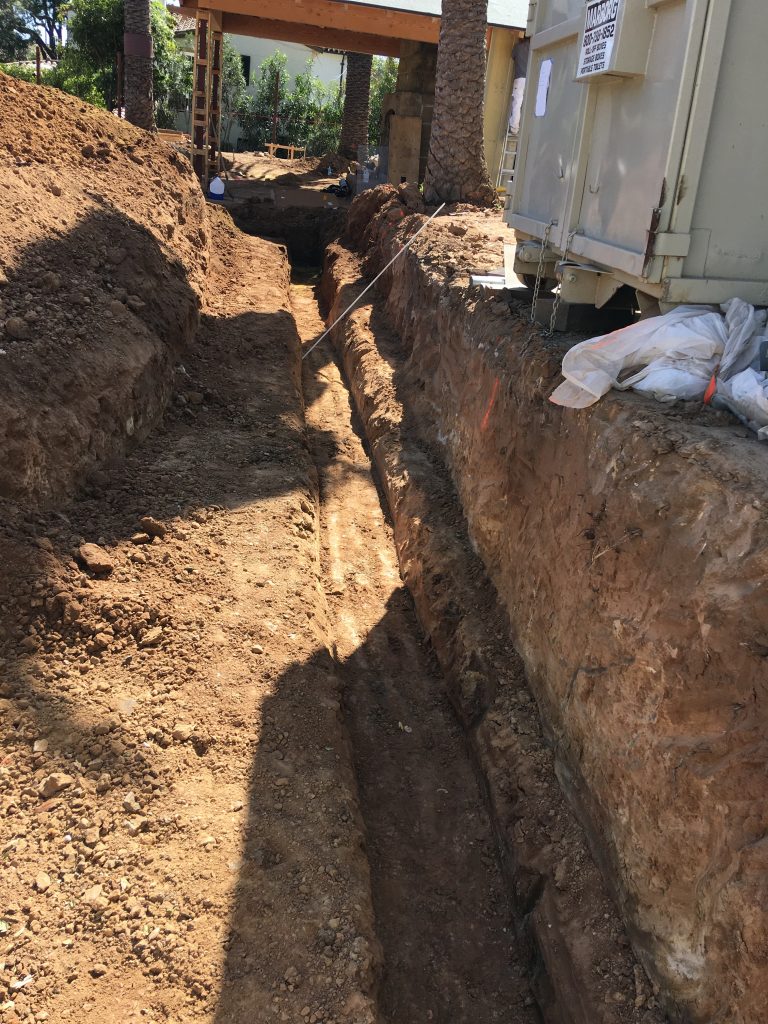
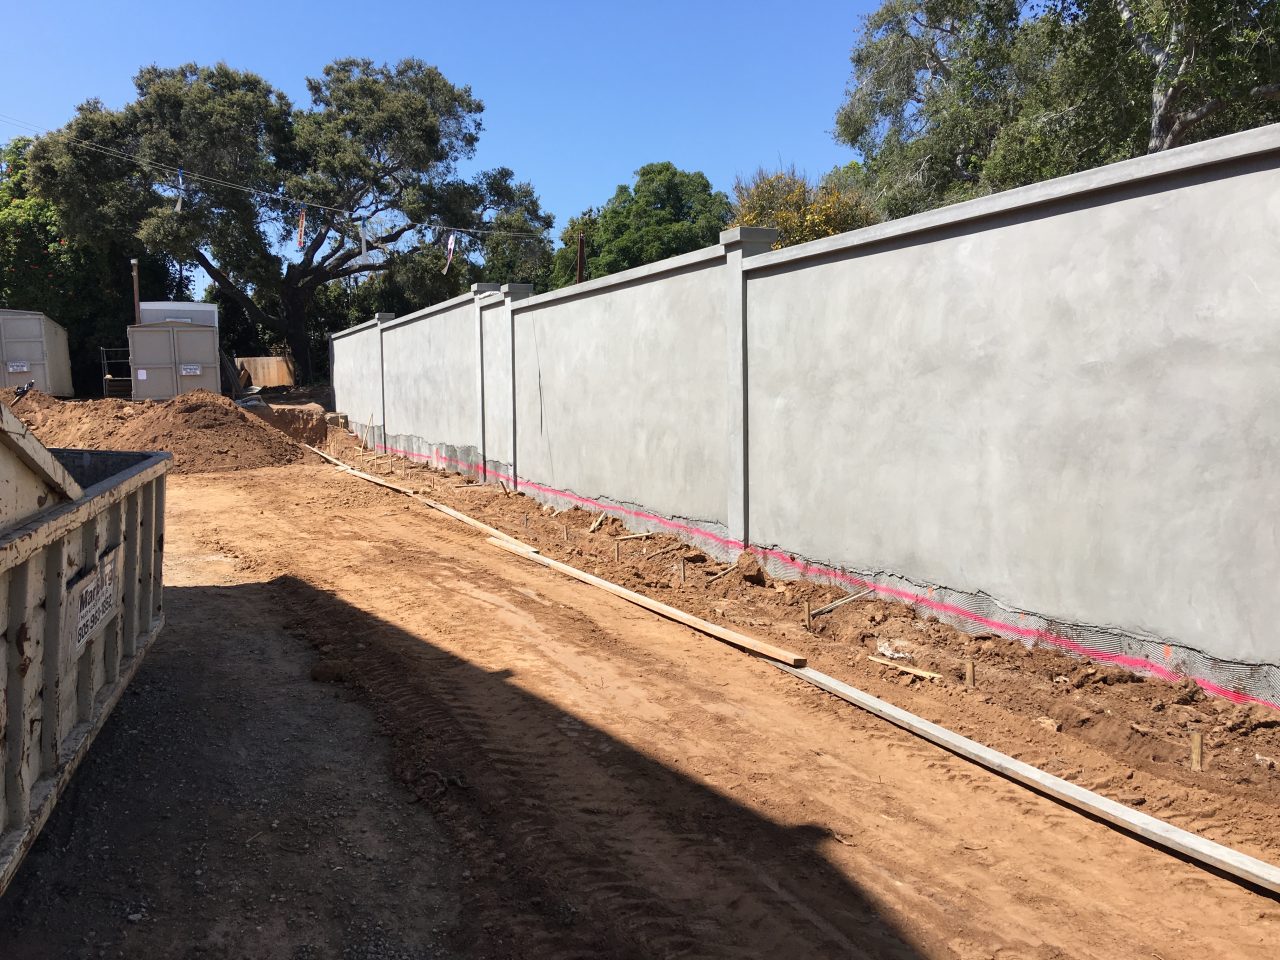
The block wall subs are hard at work digging the footings for that wall along the driveway, as well as one that takes up the grade change in our back yard.