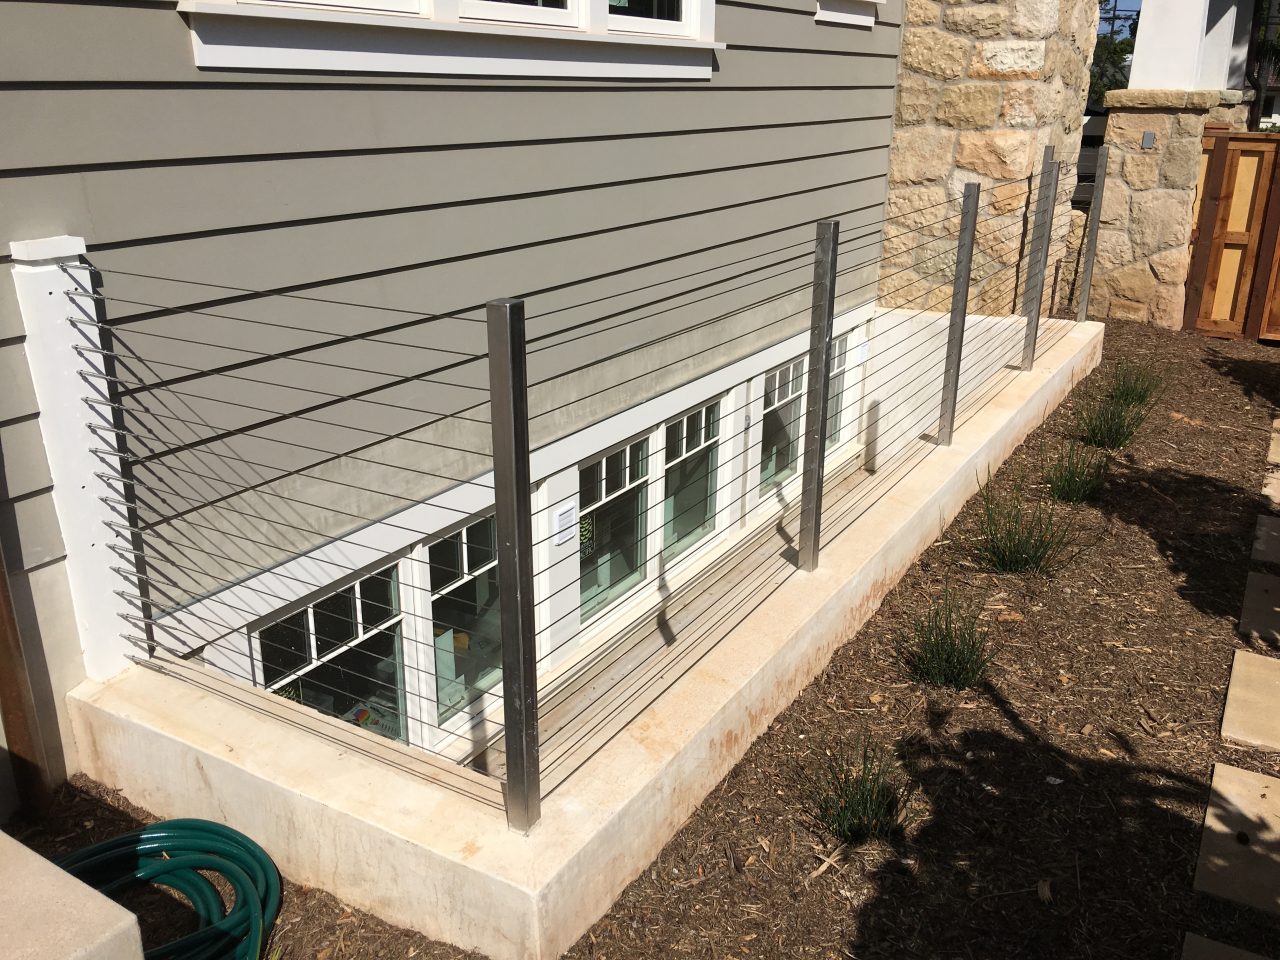
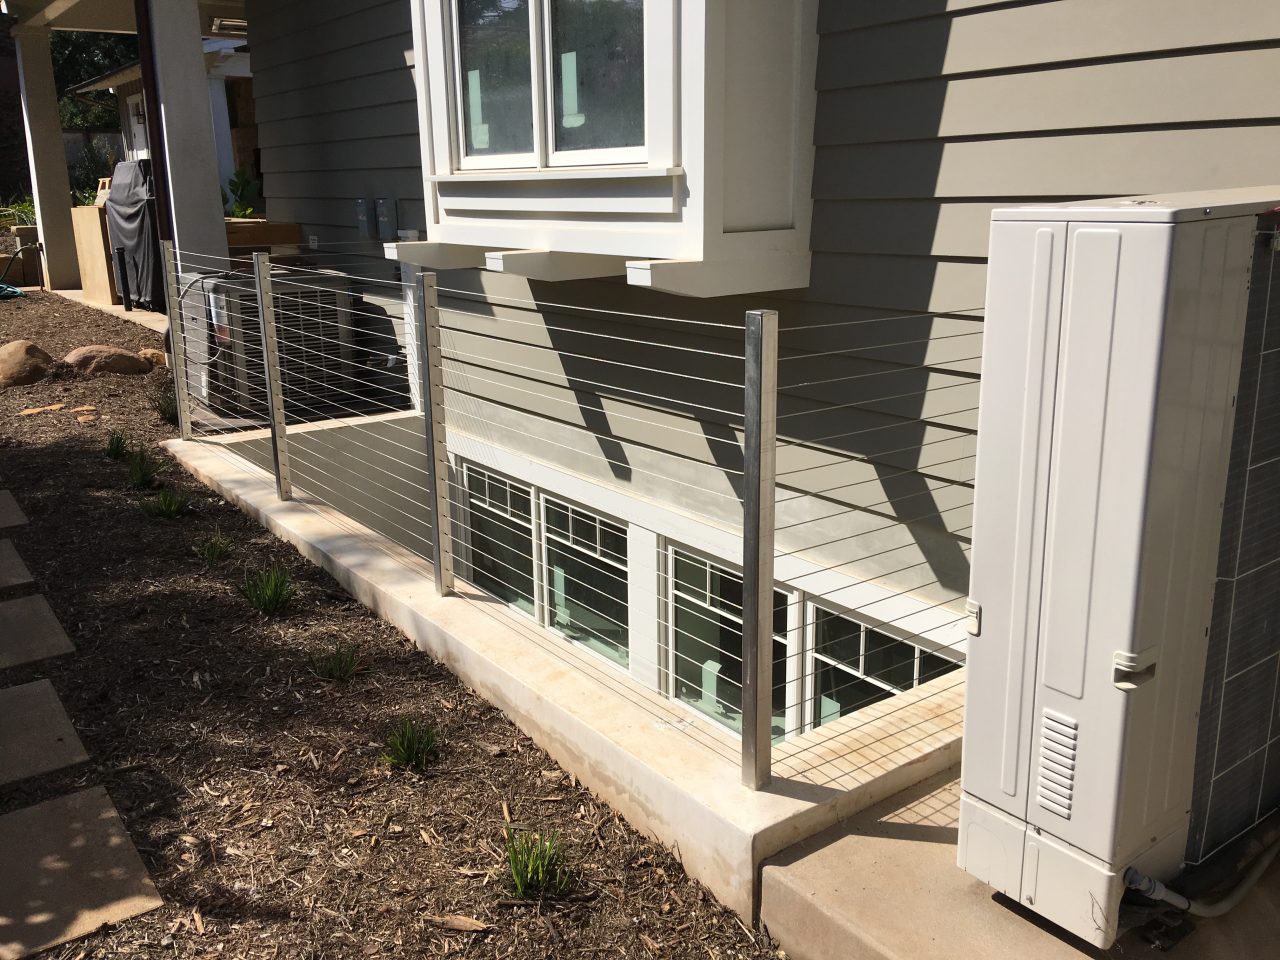
One of the last things we had to do to get signed off was to add the railings to our light wells. These light wells drop about 4-5 feet from grade into the bottom of light well, more then enough to require a guard rail.
We opted for a simple cable railing that would be somewhat invisible so as not to create another design element that might conflict with the look of the house, and to allow as much light to get into the basement as possible.
We looked around at some commercial cable railing systems and they all seems to run anywhere from $5,000 to $6,000 for our three light wells; far more than I wanted to spend.
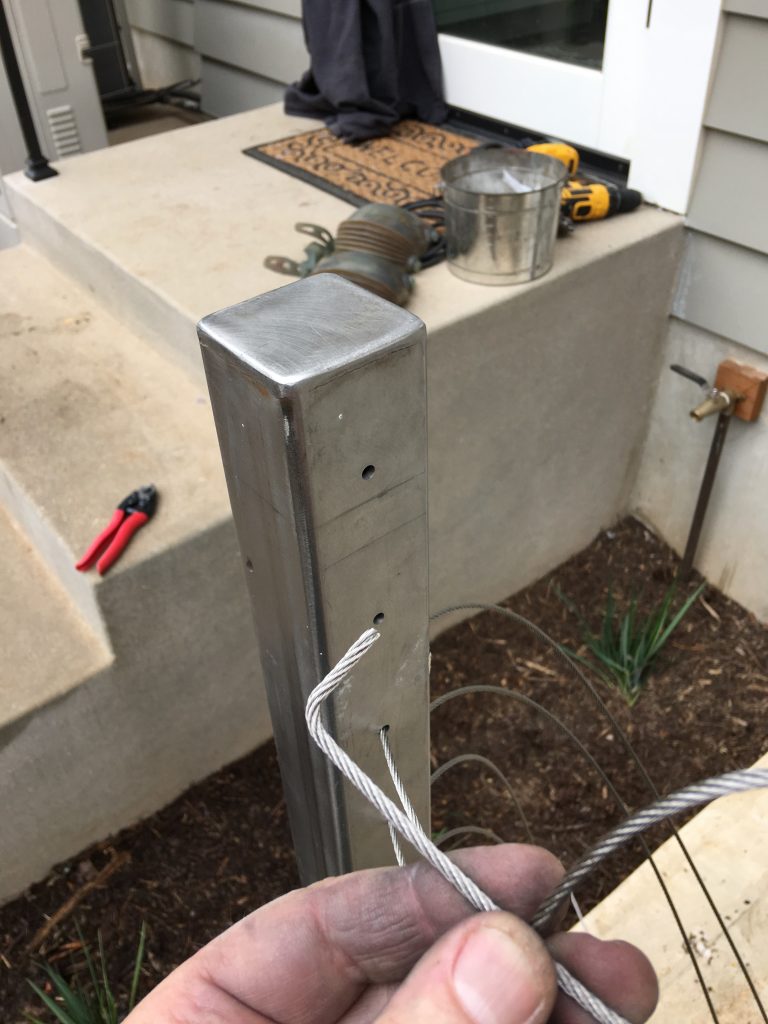
As a cheaper alternative, I had my business (which creates large things out of metal) fabricate the posts out of stainless steel, and pre-drill the cable holes on a CNC machine.
We then purchased the cable and end fasteners from Amazon.com. The system is fairly simply in theory. In practice, there was a learning curve and some challenges.
The first challenge was just getting the cables through the corner posts, which has holes on 90 degree opposing sides. To do this, I developed a technique to bend about an inch of wire 90 degrees and then stick it in and fish around for the hole, while looking in the hole. I got good enough at it that I could do a single cable in 10-30 seconds.
For fastening the ends, we used two different kinds of fasteners; one had just a screw end and a crimp end, and the other had those plus a tensioner in the middle.


You screw both ends into the termination point, crimp the cable on one end, fully extend the tensioner, cut the cable to length, and crimp it on the other end.
The crimping was the most tedious part.
Here is the finished product.