Since we did the basement pour almost three weeks ago, we have been focused on two things, waterproofing the outside of the basement walls, and roughing in the plumbing that will go underneath the basement slab. We’ll talk about the pluming in the next post.
While we don’t seem to have a lot of moisture in the ground in our area (although it is hard to tell what it might look like in a wet year, as we’ve had three years of drought now), it is pretty important to have a good waterproofing and drainage system around the a basement walls to keep any moisture that does make it into the ground from getting through the walls.
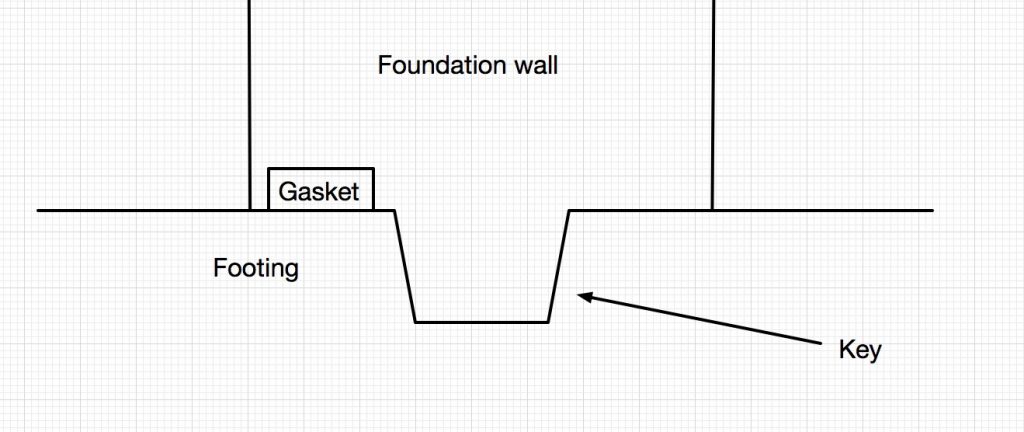
Waterproofing preparation started even before we poured the basement walls. We laid down a gasket material between the bottom of the foundation wall and the footing, around the entire perimeter of the wall.
The first step in the process was to fill any holes (mostly from the concrete ties) with Sikaflex. We then brushed and power washed the concrete to provide a clean surface for the waterproofing material.
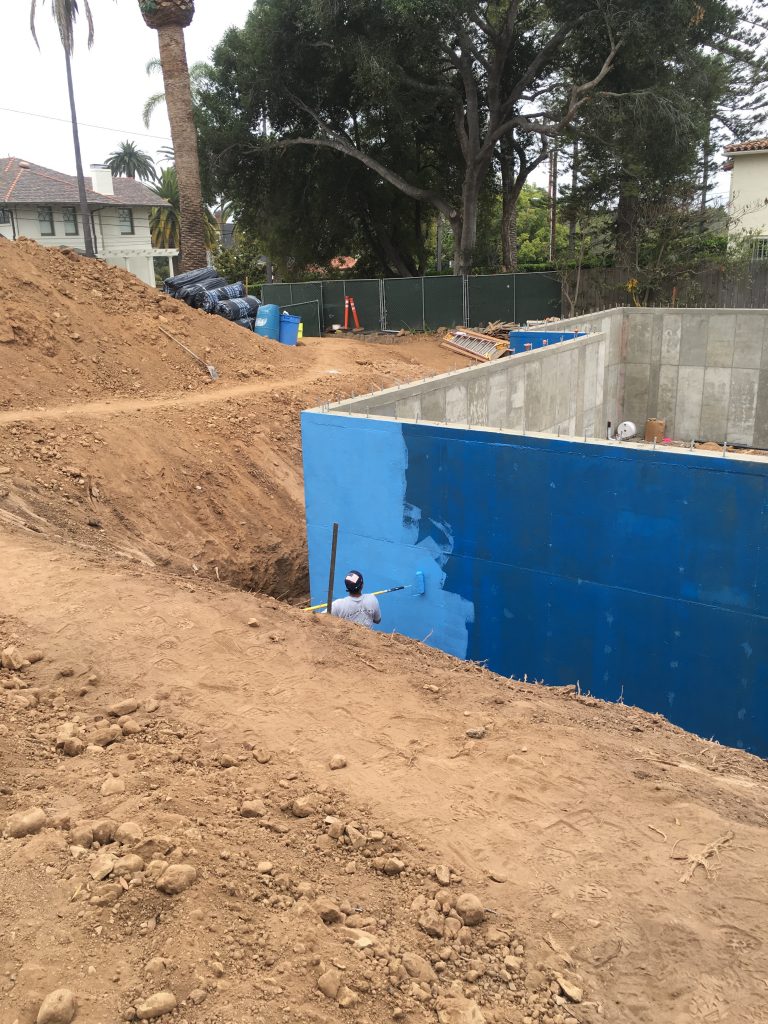
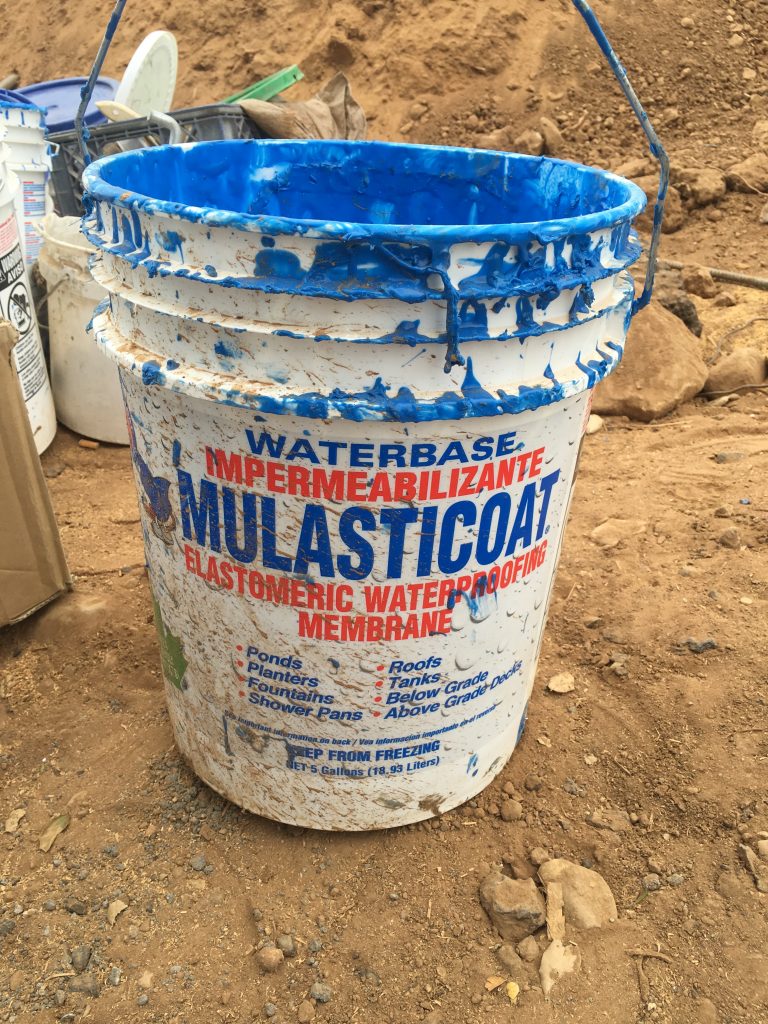
Then, we rolled on two layers of Mulasticoat, a waterproofing sealant. As they put it:
MULASTICOAT is a unique latex water-based coating which forms an elastomeric waterproofing membrane with excellent bonding characteristics to most building materials.
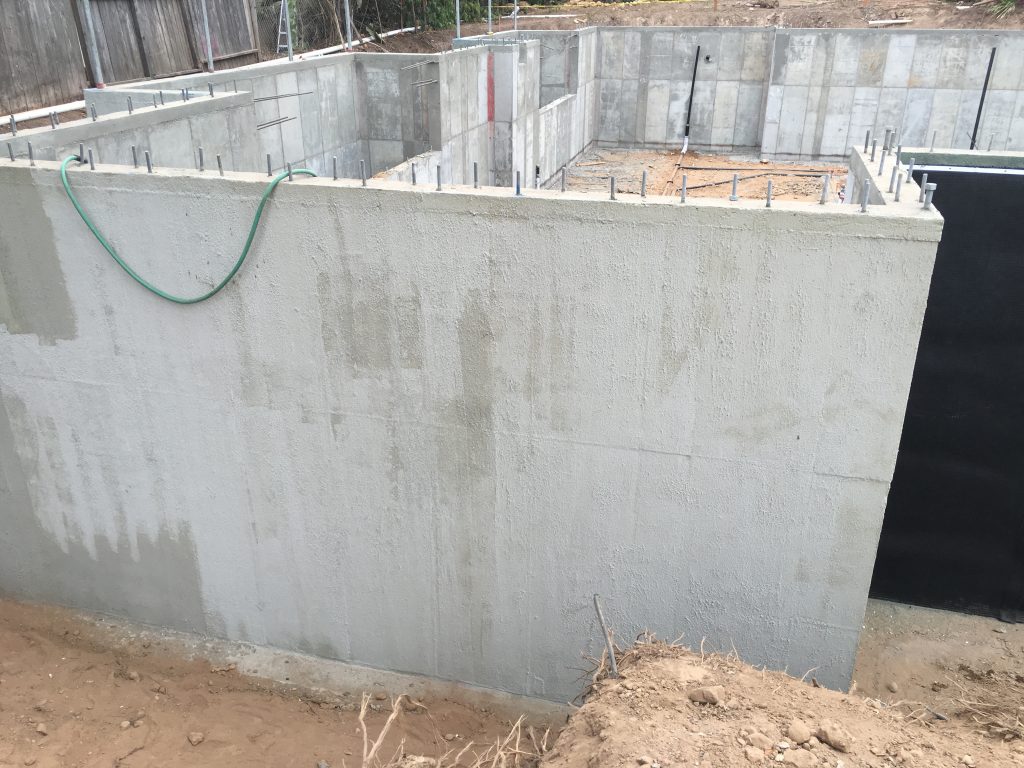
Next, we laid down a layer of ScratchKote, also a moisture barrier which also provides elasticity in case there is a shift in the underlying concrete or the ground. or any cracks appear.
One top of the ScratchKote, we applied a layer of glue, and then a rubber barrier called MirDrain 6200xl.
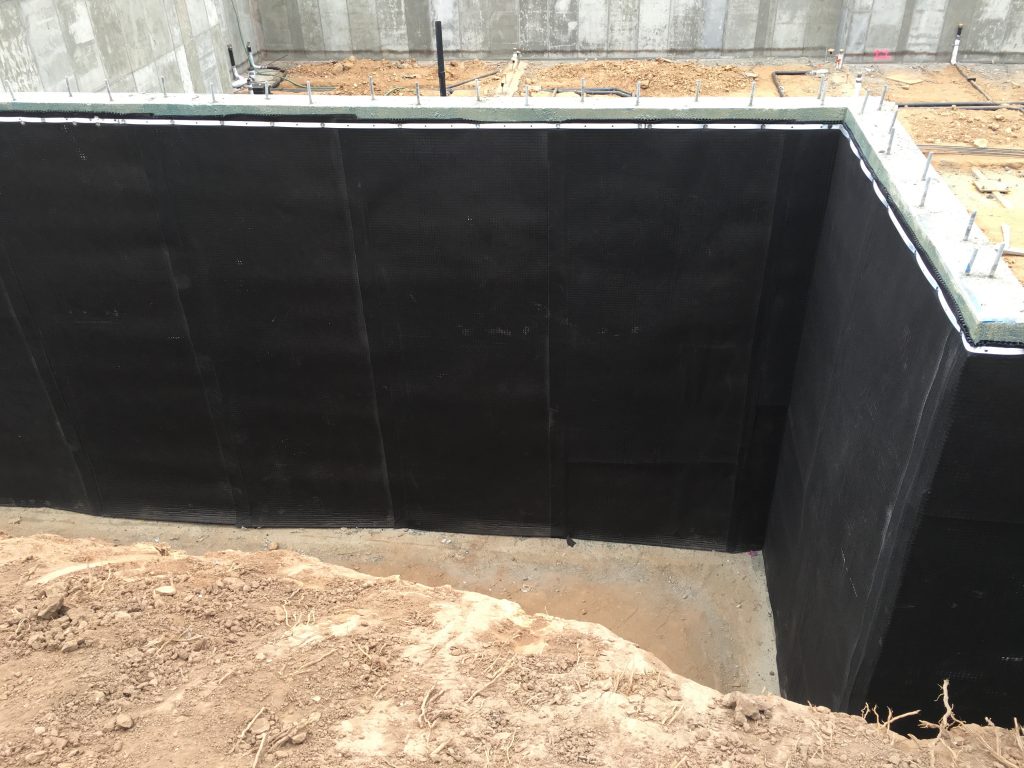
The MirDrain barrier is interesting – in addition to being an additional waterproof barrier. provides an easy channel for any water that might collect near the walls to get down. Take a look at how it is constructed.
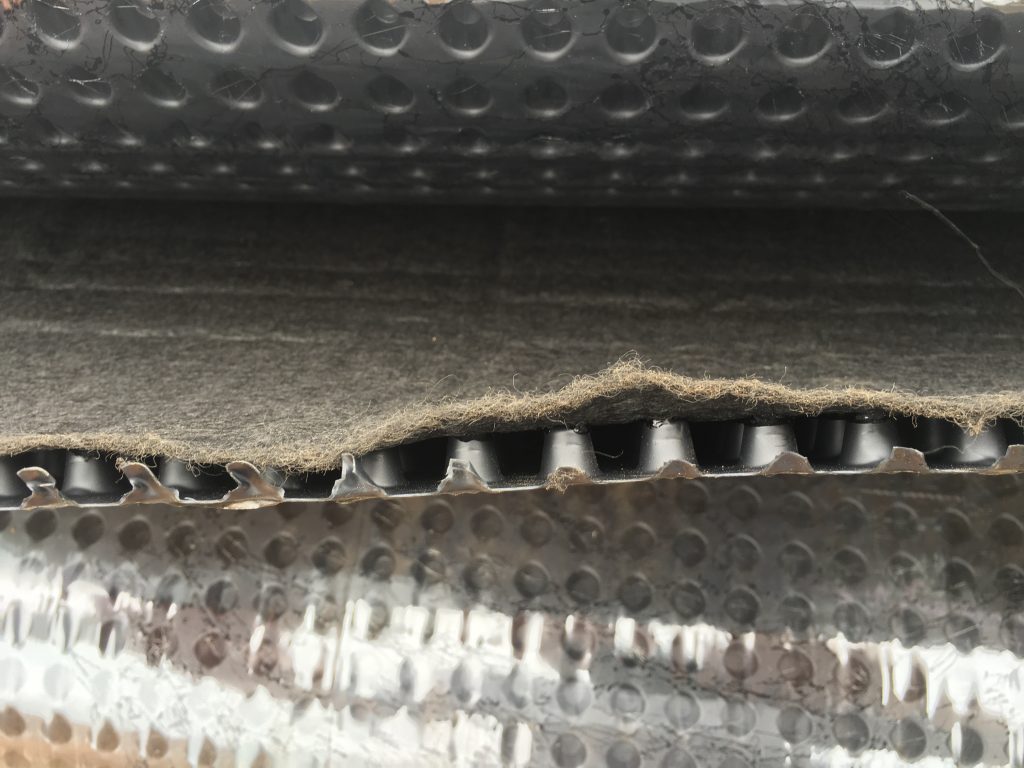
The flat side goes towards the wall. The fiber barrier keeps any dirt out but allows water through. When water gets through the fiber, it has a clear channel down between the protrusions.
At the bottom of the wall will be a french drain that can move any water that collects to a sump pit, where it can be pumped out.

The French drain is simply a perforated pipe with a sock around it, to keep any dirt out but let water through.
Once the waterproofing barrier is in place, we will fill about 2/3 of the space with gravel (to allow any water that gets in an easy way to go down towards the drain) and then fill the rest with the back fill from our pile of dirt.